It’s holiday season again and if you are looking for an easy way to hand out a bunch of greeting cards, fret not because you can do so using MS Word 2016 and a home printer.
With massive requirement for “Happy New Year” wishes, thank you notes for Christmas gifts and cards for the upcoming Valentine’s Day season, there is a consistent demand which has led to increased prices.
You don’t have to worry about it though, because this step-by-step guide aims at simplifying the entire process. You can create fully customized greetings—unlike pre-designed templates, these cards are very personal and will push your creative thoughts to the forefront.
Get ready to spend a couple of minutes understanding the concept and you will be on your way to print multiple greeting cards one after the other, with unique design and messages.
Designing a Card from Scratch
Creating a new greeting card from the scratch is one of the most difficult and time-consuming methods of all. Here’s how to do the task:
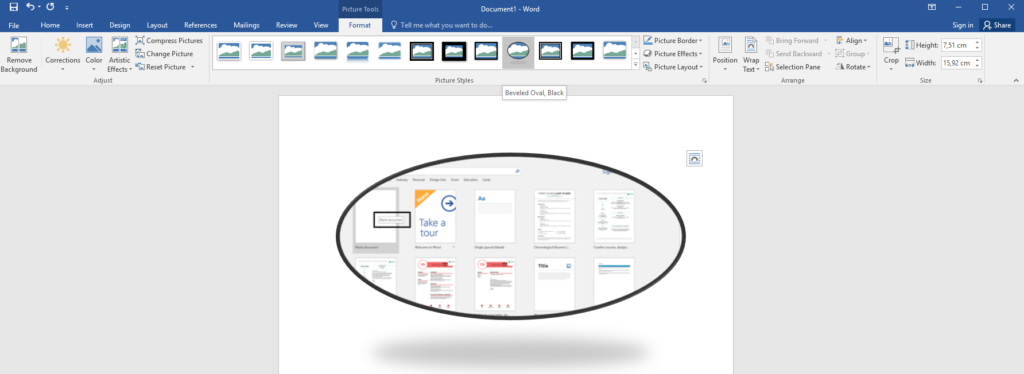
Step 1: Start by opening MS Word and selecting the blank template. You have complete freedom to go crazy with the empty space to add boxes, squares, text and images.
Step 2: Open the blank template and click on “Insert.” All the tools that you need to customize will be available in this window.
Step 3: You can start by adding a picture so as to get things going. Find a free stock image on the internet, and simply drag and drop it here.
Step 4: The next option that you would find in this ribbon area is the ability to add all types of shapes. From squares, circles and rectangles to all unique shapes, the developers of this feature provide the option of adding any kind you want. Once added, you can color the shapes and put a simple sticker on top of them, or add a message like “Happy Holidays” “Greetings” or “Wishing You the Best” as you like.
Step 5: A couple of other options can be also be found in the same page. But many of them pertain to business documents and other professional presentations. A wise choice would be to add multiple shapes and have catchy words in them. You can use more than one picture to make it a grand greeting card or keep things simple.
Creating a Card with Existing Templates
Open Microsoft Word and it will immediately show you different types of documents you can create. Throughout the years, the software has come a long way, and the long list of templates available would definitely take you by surprise. Instead of manually browsing through thousands of themes, consider using the search bar on top.
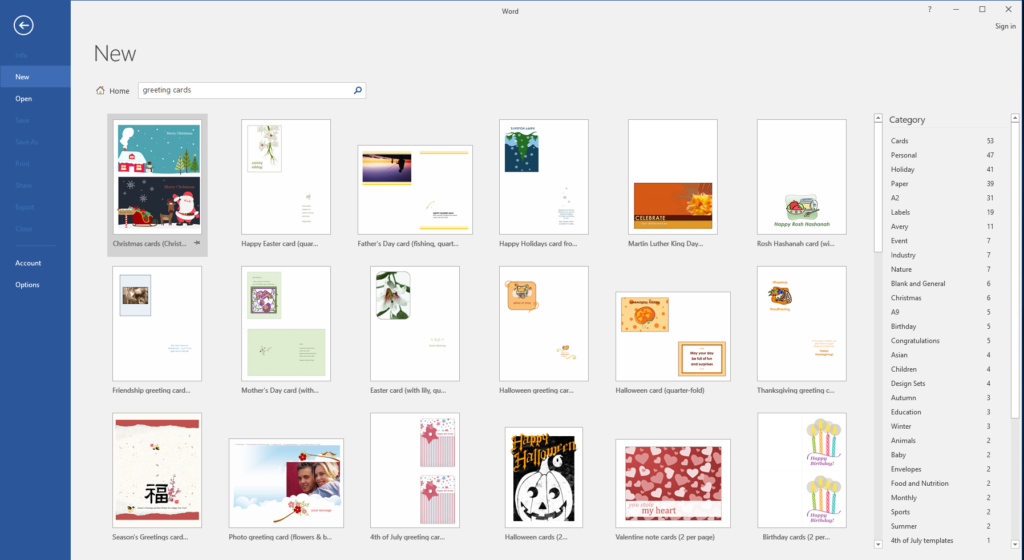
Step 1: Type “greeting cards,” “holiday greetings” or just “cards” and MS Word will immediately show a list of templates available in the chosen category. The list is exhaustive but you can choose to separate them using the categories found on the right-hand side.
Step 2: Choose from a range of options including congratulations, children, event, winter, seasonal and so on.
Step 3: With the latest version of the software, a quick preview of the template you are about to select is shown in the front, giving you a good idea of what to expect. Some popular choices like photo greeting card and Valentine’s card are usually filled with color. They’re ideal choices if you plan to print just one or two, but for bulk printing just go with minimal templates so your home printer can handle it.
Modifying an Existing Template
Step 1: Open MS Word 2016 and search for “Greeting Cards.” You will find a list of possible templates pre-designed and ready to be used. Pick the one you like the most and it’s time to start editing it.
Step 2: Editing an existing template doesn’t follow the same pattern, as the designer might have used different sets of boxes, fonts and colors to make an attractive template. You can start editing it by clicking on each individual box, image or any other content that is found in the particular template.
Step 3: For picture-based templates, you should pick an image from your computer and add it to the design. When choosing a photo, make sure it is a high-resolution image and preferably in landscape mode, as it fits a card better than portrait images.
Step 4: Double click on any text area and it will immediately convert into edit mode. You can start typing your own text. Just check the space available to make sure you have enough room to insert your text. Keep in mind that typing too much content may not work well with the intended template.
Step 5: When you’re editing and modifying an available template, you have complete freedom to remove any image or text, or clear an area of the card to make it look the way you want. Right click on any text or image, then click “delete” to remove it. Later, you can add something new or leave it empty.
Adding Custom Messages to Your Card

MS Word 2016 is an intuitive program designed to make life easier for you. Be it a custom-made holiday card or a template, you can opt to add your own custom message wherever there is space available.
Step 1: The most common area where people write custom messages is at the top or bottom of the card so that it makes a striking impression. In the top ribbon area, click on the “Insert” tab.
Step 2: You will find the option “text box” towards the right end corner of the top ribbon area. Click on it and the interface will open a custom-sized box that you can make use of.
Step 3: Click and drag the text box on the top or bottom of the card. You can customize its height so that it fits appropriately in the available area. Place your own text in the place available.
Step 4: Once you are happy with the design, click on the zoom slider found on the bottom right corner of Microsoft Word. It will give you a full overview before you print the card.
After that, you’re ready to print out your greeting card and send it to whoever you wish.


